Google Tag Manager (GTM) lets you add and manage measurement tags without editing your website code every time something changes. Used well, it gives you one organised place for GA4, Google Ads, Meta and other tags. Used badly, it becomes a pile of untested tags that nobody trusts. This guide walks through a clean GTM setup from the first container to a tested, published version.
Key takeaways
- Write a measurement plan before you open GTM, so every tag has a reason to exist.
- Tags send data, triggers decide when, and variables supply values. Keep all three named consistently.
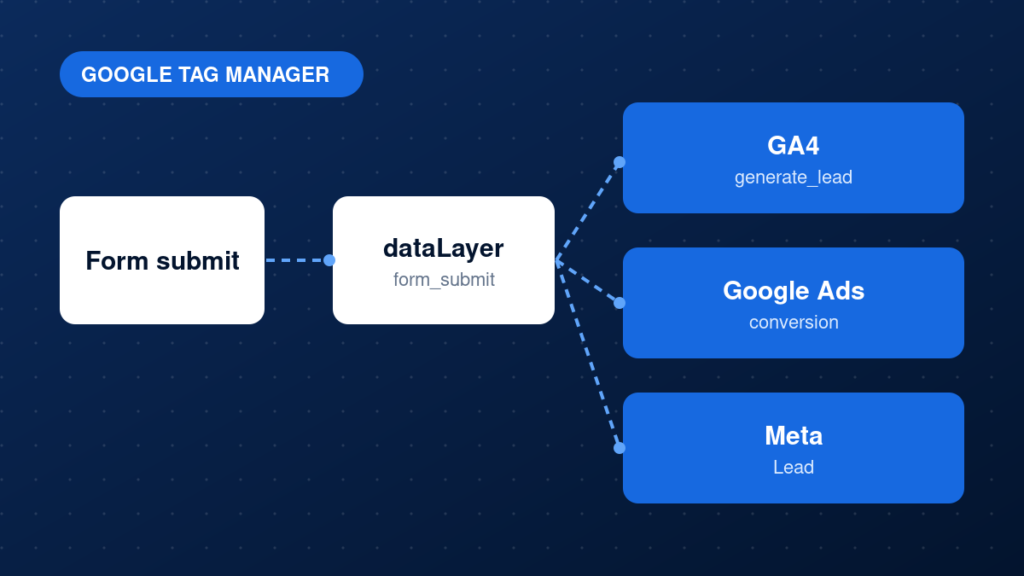
- Use the dataLayer for business events instead of relying on fragile CSS selectors.
- Never publish without testing in Preview mode and checking the result in GA4 DebugView.
The problem with unplanned GTM setups
Most broken tracking setups have the same root cause: tags were added one at a time, by different people, with no plan. The result is duplicate page views, conversions that fire on the wrong page, and triggers that break the moment a developer changes a button class. Fixing this later costs far more than planning it at the start.
A clean setup needs three things: a clear list of what to measure, a consistent structure inside the container, and a testing routine you follow before every publish. If you would rather have this built and checked for you, see our Google Tag Manager setup service.
Step-by-step implementation
1. Write a measurement plan
List the business actions that matter, such as form submissions, phone clicks, purchases or booking requests. For each one, note where it happens on the site, which platforms need it (GA4, Google Ads, Meta) and which values it should carry, for example value, currency or form name.
2. Create the account and container
Create a GTM account for your business and a Web container for the website. Use clear names, because you will see them in every report and every team conversation. Install the container snippet in the head and body of every page, or use a trusted theme or plugin integration if your platform supports it.
3. Understand tags, triggers and variables
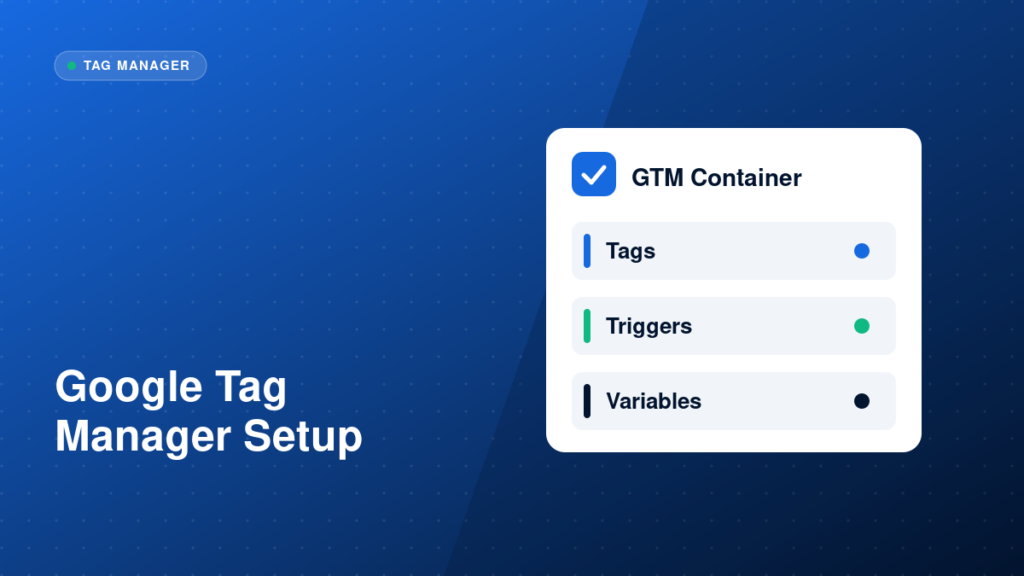
Every GTM setup is built from three parts. Tags are the pieces of code or settings that send data, such as a GA4 event tag. Triggers decide when a tag fires, such as a page view, a click or a custom event. Variables hold values that tags and triggers use, such as a page URL or a dataLayer value.
4. Use a naming convention
Pick one pattern and apply it everywhere, for example GA4 - Event - generate_lead for tags, CE - form_submit for custom event triggers and DLV - form_name for dataLayer variables. A predictable pattern makes the container readable a year from now.
5. Build the core setup
Start with a GA4 configuration (a Google tag with your measurement ID) that fires on all pages. Then add one GA4 event tag per business action, each with its own trigger. Prefer custom event triggers fed by the dataLayer over click triggers based on CSS classes, which break when the design changes.
6. Publish with clear version notes
When testing passes, submit the workspace and write a version name and description that explains what changed. If something breaks later, you can compare versions and roll back in minutes.
Example: pushing a business event to the dataLayer
window.dataLayer = window.dataLayer || [];
window.dataLayer.push({
  event: 'generate_lead',
  form_name: 'contact_form',
  lead_type: 'quote_request'
});
Common mistakes
- Adding tags without a plan, then not knowing which ones are still needed.
- Installing GTM twice, or hard-coding a GA4 snippet on top of the GTM tag, which duplicates page views.
- Relying on CSS selectors and click text for triggers that should be dataLayer events.
- Publishing directly from a workspace without running Preview mode.
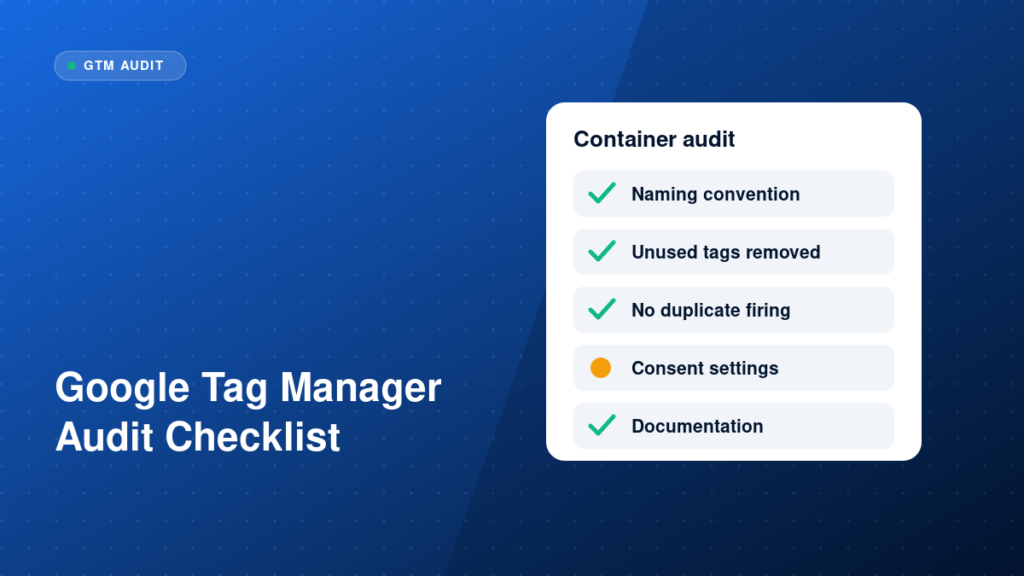
- Leaving unused tags, triggers and variables in the container.
Testing and validation
Open Preview in GTM and browse your site in the connected Tag Assistant window. For every business action, confirm three things: the right tag fired once, it fired on the right trigger, and the variables carried the expected values. Then open DebugView in GA4 to confirm the events and parameters arrive. Finally, check that no tag fires on pages where it should not.
Practical checklist
- Measurement plan written and agreed
- Container installed once on every page
- Naming convention applied to tags, triggers and variables
- Business events pushed to the dataLayer
- Every tag tested in Preview mode
- Events confirmed in GA4 DebugView
- Version published with a clear description
- Access limited to people who need it
FAQ
Do I need a developer to set up GTM?
Not for the basic container install or simple tags. For clean event tracking on forms or e-commerce, a developer or an experienced GTM specialist helps, because the events should come from the dataLayer.
Should I use GTM or add the GA4 code directly?
GTM is usually better once you have more than one tag, because everything is managed in one place with versioning and preview. Just make sure GA4 is loaded only once.
How often should I review my container?
At least twice a year, and after any site redesign or platform change. See our Google Tag Manager audit checklist for what to check.
Next steps
A tidy container is the foundation for everything else: GA4 reporting, ad conversions and server-side tracking. If you want an expert to build or review yours, explore our GTM setup service, or continue with how to track form submissions with GTM.